iOS Coding

Working On My Own App

If you’ve been following this blog at all, you know that I’ve been following along with the CS193p Stanford iOS course. If you haven’t been following this blog at all, you are in the vast, vast majority. Anyways, the latest assignment I’ve been working on in that class involves downloading a list of locations from the popular photo-sharing website Flickr and displaying them in a UITableView, which segues to actual images when a cell is selected. The assignment focuses on storyboarding your app and making smart choices with subclassing view controllers.

Image

I know what you’re thinking: Wow, Anson. That looks beautiful and organized, you are really an outstanding individualHow can I be more like you on a daily basis?

With this sort of game-changing organization, I was feeling pretty good about this assignment. In fact, I even drew out a diagram of what I wanted the app to look like and what subclasses I needed to make.

Well, I’ll make this story short. I wrote some very nice code to download the photos that was working perfectly, and then the very next day, it broke with no changes on my part.

ImageSeriously?

After LOTS of Googling, I found out that nothing on my end was at fault. It seems that as of right now, Flickr’s API (the tools that developers use to access the site) seems to be down/undergoing changes.

So basically, I can’t do the assignment.

Which actually turned out to be a blessing, because it helped me realize that I enjoy working on code that I actually want to write a lot more than “assigned” code.

I’ve had an idea for a simple game involving balls bouncing back and forth that I’d like to develop for quite some time now. I won’t delve into details, because I know that there are a lot of higher-ups at really successful start-ups and popular people that read this blog, and I don’t want them stealing my idea. Just know that the app will no doubt be a smash hit within hours of going live. And by “hours” I mean maybe weeks. And by “smash hit” I mean someone besides my mother will download it.

This week, I’ve been mostly working on the UI (that means “user interface” for the tech-illiterate) of the app. I’m going for a pretty basic vibe, with a few colors and some simple buttons and with a playing area in the middle of the screen. Here’s what it looked like in the beginning stages:

Image
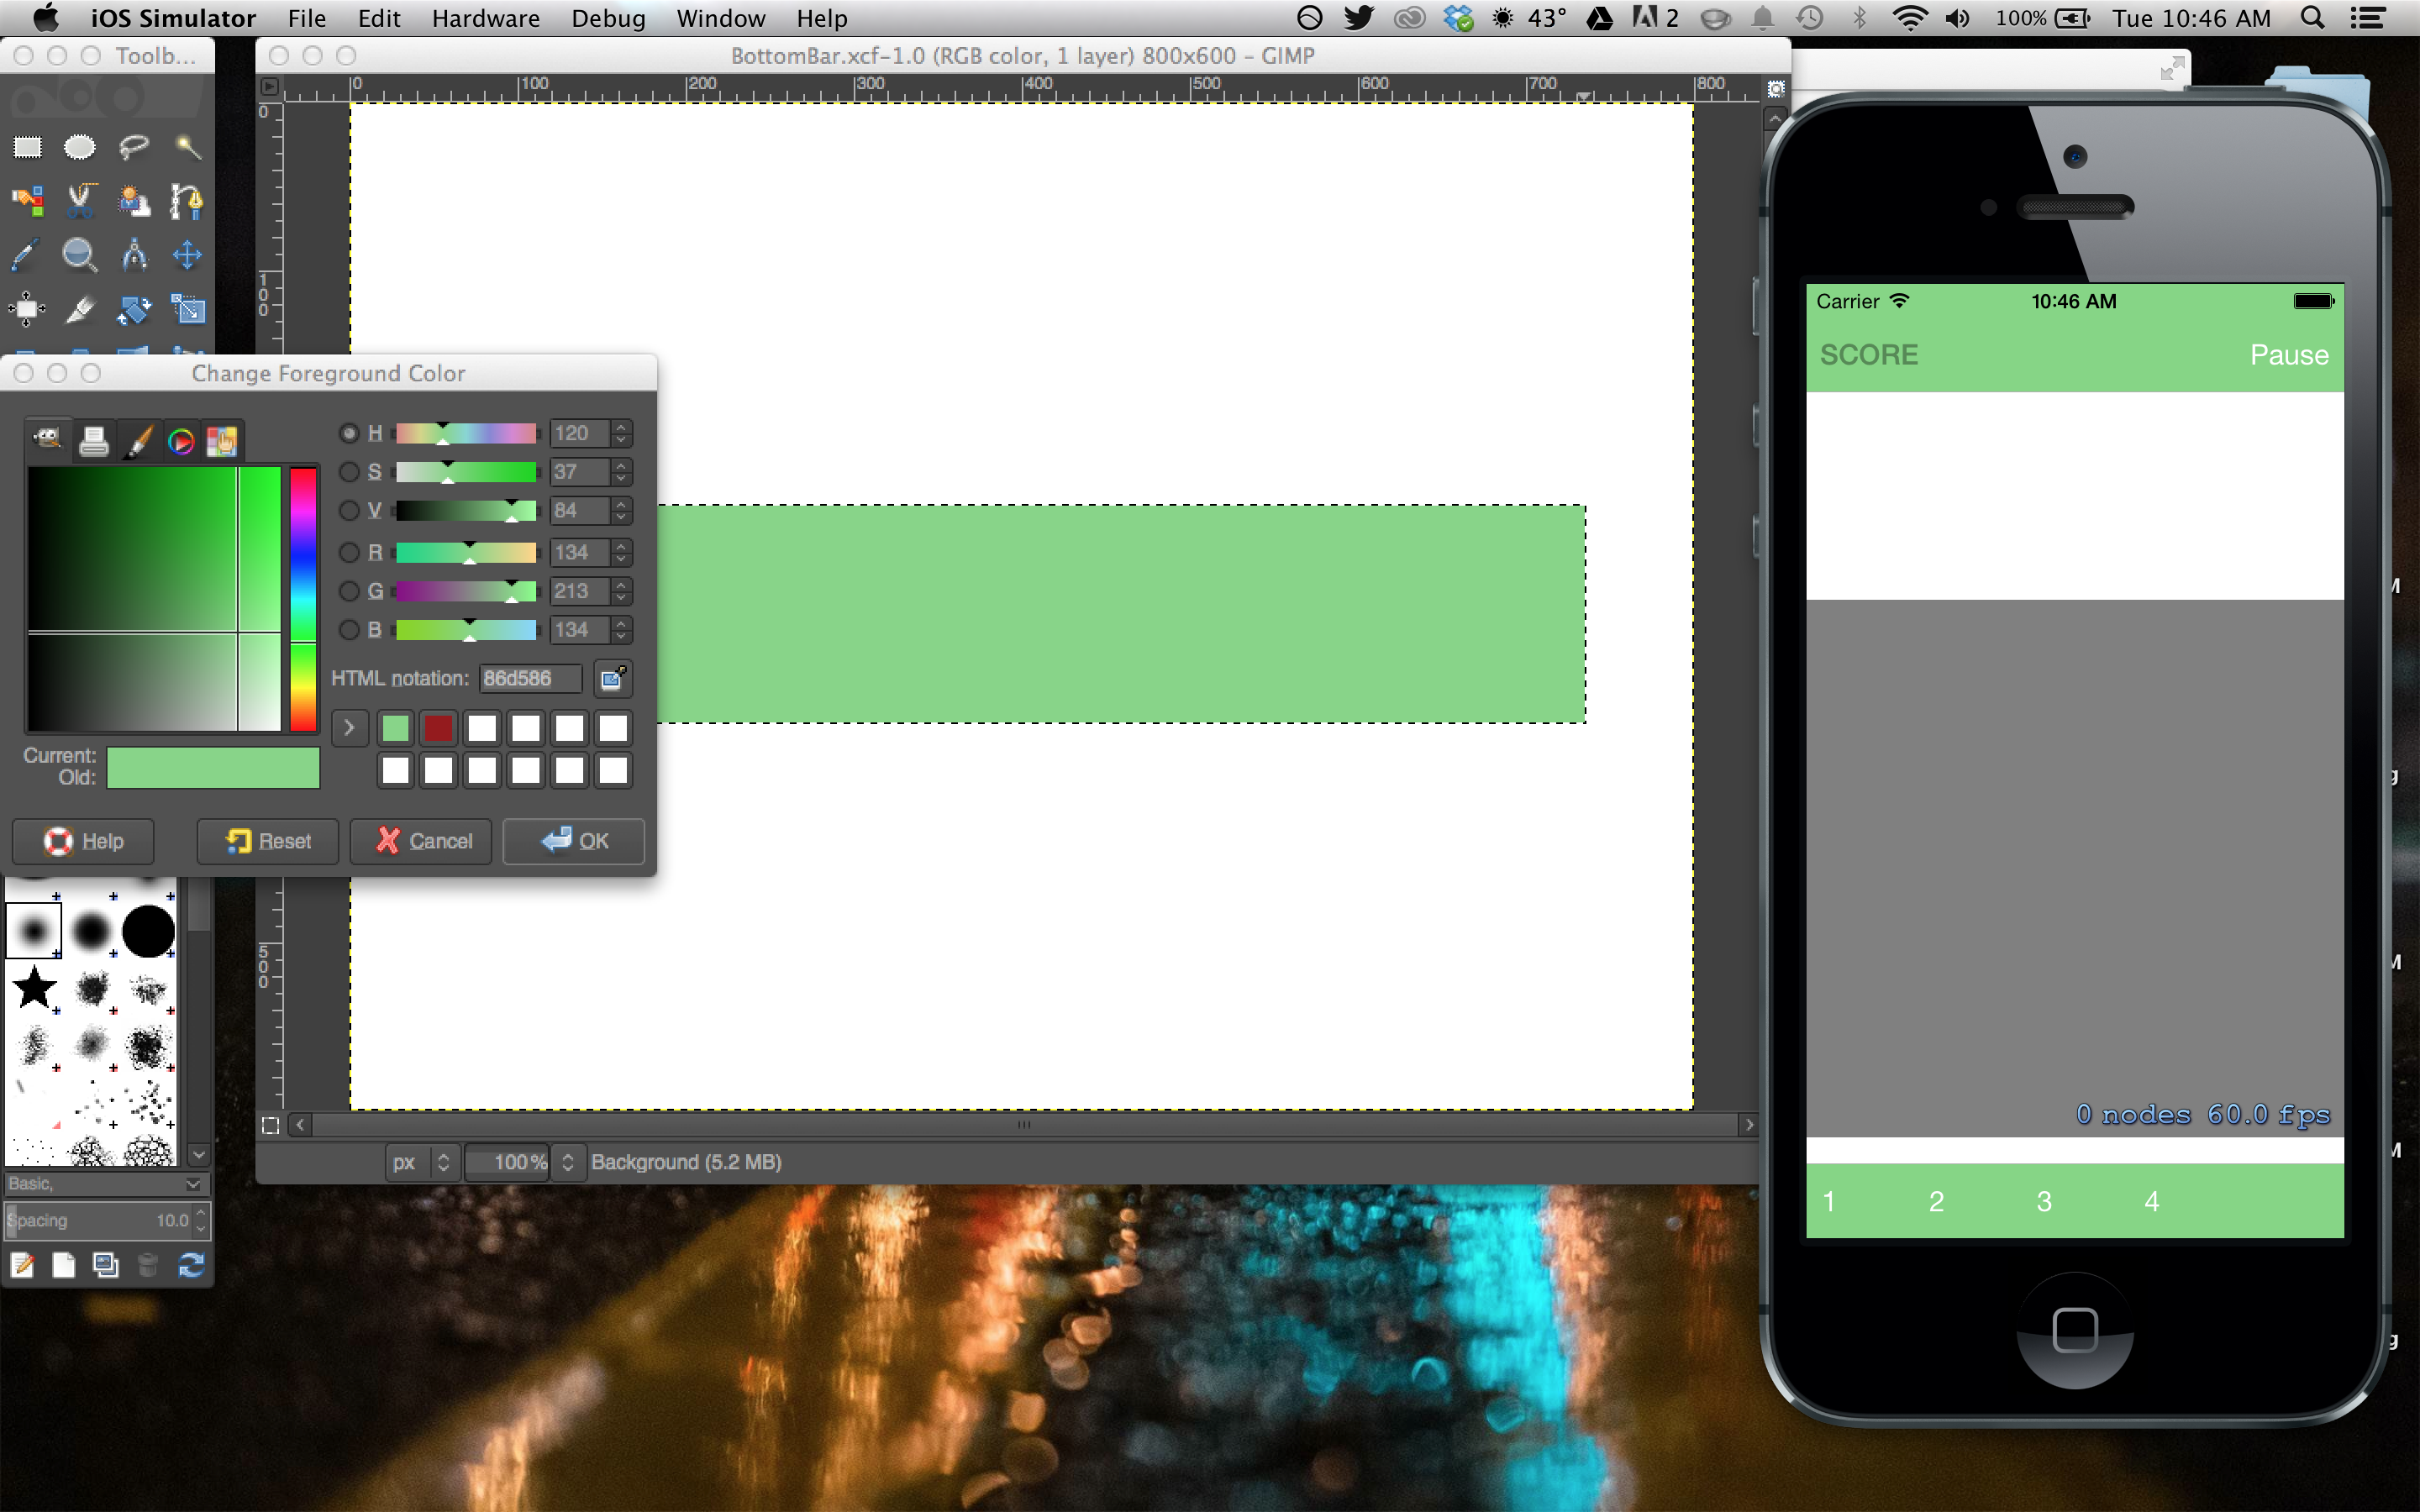
Look at that beautifully-centered gray square and those perfectly-distributed buttons at the bottom.

By the way, I also drew out the way I want this app to look in my sketchbook. It makes me feel less like a novice app-developer and more like someone with actual vision. Or Michelangelo. The layout is really simple, so it only took about 30 minutes. There’s more to the final app than just this single frame, but it’s a good start for now, since this is where most of the action will be happening.

One of the things I want to make sure my app exhibits is at least a little bit of polish. I want the app to feel as though it took more than an hour to put together. One of the ways I’m trying to do this is by implementing some cool animations during gameplay. For example, when a user places a ball in the game, it will either be green or blue, and these colors always alternate. Instead of just making the user guess what color comes next, I decided to implement some bars at the top and bottom of the screen to indicate what color was up next. Not only this, but I want the bars to slide in and out when a ball is placed. Doing this required the use of several classes, with UIDynamicItem, UISnapBehavior, UIView, and UIDynamicAnimator being at the top of the list. After toying around with things like the “resistance” property of UIDynamicItem and the snapToPoint method of UISnapBehavior, I managed to get a pretty smooth-looking slide for my bars when something happens (for now, it’s me clicking the screen):

ImageAnson, that GIF is so smooth.

I promise that the actual animation is smoother than the above makes it seem. Anyways, it’s really cool to see my own project coming together so quickly. This is the first time in my life that I really feel like I have something that I really want to do, that I want to see all the way through no matter what. This app is quickly becoming my baby, and I’ve found recently that it occupies a large portion of my daily thoughts. I think about it in the shower. I think about it in class. That’s what people do with their babies, right? 

I’m not saying that this will be an easy journey, by any stretch. I’ve already struggled quite a bit with things I haven’t used a lot like delegates and protocols, and I haven’t even begun to write the code that will actually power the game. But I think that with a lot of caffeine and even more willpower, I can make this dream a reality and get this bad boy into the App Store before too long. And that, my friends, is a pretty cool thing to me.

Grids are hard.

This weekend I had a speech and debate tournament, which meant that while the debate squad was off arguing for fun (Ha! Nerds!) on Friday, I had a lot of free time at the hotel we were staying at. I resisted the urge to binge watch the new season of House of Cards and instead spent most of the day coding. Following last week’s adventure in making a triangle, I was now tasked with making diamonds, squiggles, and ovals in various color and striping levels, putting these symbols on cards, and distributing the cards on screen. Here is the result of about 6 hours of work:

Image

I know what you’re thinking. “Six hours? That looks so easy…and you could’ve indulged in the finery of Kevin Spacey’s acting ability for six hours instead. ” Or, if you’re any better at iOS coding than I am, “Six hours? That’s so easy.” Well, it was sort of easy. once I figured out what I was doing.

See, the assignment mandates that the app has to look pretty. That means alignment. And that, among other things, means making sure that as the cards are dealt and chosen, they stay in proper rows and columns with each other. Now, I haven’t even coded the animations in the app yet (re-deals, collecting up all the cards at once, etc.), but I know that if these animations are to look visually pleasing in any way, then the cards on screen must maintain some form of structure. In other words, the layout needs to look less like my dorm room (although to be fair, I did vacuum today; I’d like to thank my mom for believing in me for all these years) and more, well, grid-like. If only there were some way to put these cards into a grid…. You probably couldn’t guess it from the title of this post, but there is a way to put these cards into a grid. It’s a class called “Grid” that was actually included in the assignment, though its use was not required. The Grid class is actually pretty simple: it has three properties that must be set on initialization, and the rest are optional. These properties are cellAspectRatio, minimumNumberOfCells, and size. With these set, the Grid class essentially just lays an invisible grid onscreen which you can then use to snap objects inside of.

The problem I was having when trying to work with the Grid class was that I couldn’t find a cell aspect ratio that also worked with the minimum number of cells I wanted (15). The cell aspect ratio is just a ratio that relates the width of the cell to the height (a ratio of 1.0 would be a square). Originally, I tried using 1.7 as the ratio, but that always seemed to produce columns that would eventually go offscreen instead of ending cleanly at the edge. After fiddling with some numbers for a while, I realized that 2.0 would be an ideal ratio that still more-than-vaguely resembled a card. I also had to set the size of the grid using a some code I wrote that scales the grid size based on the device that runs the app. I don’t think a lot of people realize that an app running on an iPhone 4s and an app running on an iPhone 5 or iPad Retina actually have to be coded a little differently to compensate for the screen size difference. With these modifications and a little bit of luck, I finally got the cards laid out on screen where I wanted them, and all that was left to do was connect the “view” (what is shown onscreen) to the “model” (the numbers and logic behind the actual workings of the app). This was a bit easier, as I am more familiar with code that isn’t strictly geometric.

If you’re curious about how I went from drawing a black and white triangle to drawing colorful and striped squiggles and ovals galore, then we should be friends, among other things. The ovals and diamonds were pretty straight forward, as lines and quadratic curves aren’t too difficult to code. However, the squiggles proved to be quite tricky, since they utilize cubic curves. I had to use what is called a “bezier path” to draw lines properly and figure out what “control points” would merit the best looking curves for the symbols onscreen. Wikipedia soothed any worries I had by illustrating simply how the control points affect each line:

Image

It then promptly un-soothed them with this illustration:

Image

Luckily, I only needed to replicate the former, and after some experimentation I managed to draw some nice squiggles onscreen:

Image

After that, assigning the colors and stripes was pretty simple. I won’t delve into details, but all I had to do was either assign colors via hard code or use an image of a bunch of stripes as the “fill” for each shape.

I’ll end on a tangent (I tried to think of a good geometry joke but I couldn’t). There is something about the feeling I get after writing working code that is not quite describable. Anybody who has written any sort of program can relate, I’m sure. I realized quite early on in this exploration of programming that almost every time I write new code, it will fail. It will fail more than once, more than 15 times, more than Disney’s “Planes”  or its upcoming sequel. But that’s okay. Because when it works, when I push the “build” button and finally get the answer I want or the image I was hoping, for it’s all worth it. I think what draws me to computer science is the prospect of repeating this process over and over into the future, continually failing until I don’t, and then failing again. It’s how I’m hoping to live my life, in a sense.

Except somewhere in between the failure I want an Audi.

I made a triangle.

The title says it all. I today I spent roughly one hour tediously drawing out a triangle in Xcode on my quest to become an iOS developer. I’m following the videos on Stanford’s online CS193p course and doing all of the homework on my own. So far, I have created a working card-matching game that has two playable game modes: Set and Playing Card. Playing card works just as you would expect it: you gain points based on rank or suit matches. The Set mode is a clone of the popular game Set (one which I played far too much with my friends in elementary school during indoor recess).

The goal of this week’s assignment is to move away from text-based cards and write the app so that it will actually do all the drawing itself. This has turned out to be very tedious, as a key part of the design is that any code must be scalable so that if the cards change size on screen, they will still look the same. To do this, I wrote the code so that each card’s “view” was divided up into a sort of grid, then plugged in some drawing methods, and voila: my pièce de résistance!

Screen Shot 2014-02-04 at 1.00.12 AM

It doesn’t look like much, but it’s a pretty cool thing to be able to draw graphics directly on screen. When I code stuff like this, I feel kind of like a small child who just figured out something really cool. Like when I figured out how to make a Superman symbol using only my fingers. Or when I learned how to make mac and cheese.

Screen Shot 2014-02-04 at 1.00.29 AM

Yeah, the feeling is literally the same.

Anyways, this blog is supposed to be about my journey through college, and there will probably be a lot of stuff specifically about code in the future as well. Hope it doesn’t bore you.

Cheers.